9 minute read · November 20, 2019
Lightning Fast Analytics with Tableau Online and Dremio
· Dremio Team

Guide to setting up Tableau Online Bridge with Dremio
Overview
Tableau Bridge is a way to connect your Tableau Instance to your data. Connecting to online data sources using Tableau Online is easy, you can connect to both live and extracted data depending on your environment, but what if your data sources are constantly changing? You wouldn’t want to have to re-publish your workbooks every time a change happens on the dataset level. There may also be cases were security prevents access to Dremio from the internet. With Tableau Bridge, it is easy to create a secure connection between Tableau Online and your Dremio datasets.
In this tutorial, I will walk you through the steps of setting up Tableau Online with Tableau Bridge and create a live connection to Dremio.
Requirements
- A running Dremio cluster, check our documentation for details on how to deploy Dremio on your environment.
- A system for Tableau Bridge to run from (must be on 24x7 for live queries)
- Tableau Desktop (for publishing)
- Admin account for Tableau Online
Setup Tableau Bridge with Tableau Online
- Download the Dremio ODBC drivers for the environment that you will be working on.
- Download and install Tableau Bridge on the machine dedicated to run the bridge.
- Install Tableau Bridge on the machine that will be running the bridge. The bridge must be available 24/7 for the user who interacts with the Tableau Dashboard on Tableau Online, otherwise queries will fail.
- Open the bridge and add a login to Tableau Online

Now on your browser, navigate to online.tableau.com and open the settings menu at the bottom left

Select the Bridge option at the top

Check the option: Enable Tableau Bridge clients to maintain live connections to on-premises data and then click on Save

In the Client Status section, set the new bridge to Extract and Live and then click save

Setup a dashboard and publish
Now that we have everything set, let’s have some fun!. First, go to your Dremio UI and create a virtual dataset (VDS). For this tutorial, I’ve created an “Employee” VDS which is the result of a join of two different datasets coming from PostgreSQL and SQL Server.

We can verify the lineage of this data in the Graph entry

Now, let’s create a workbook in Tableau using the resulting dataset. For a detailed explanation of what is about to happen, take a look at our Visualizing Your First Dataset with Tableau tutorial.
First, create the TDS file for the dataset we want to visualize, do this by clicking on the ellipse next to the floppy disk icon and then select Tableau from the drop down menu

Open the TDS file and when prompted type in the same credentials you used to log into the Dremio UI

Create and save the workbook

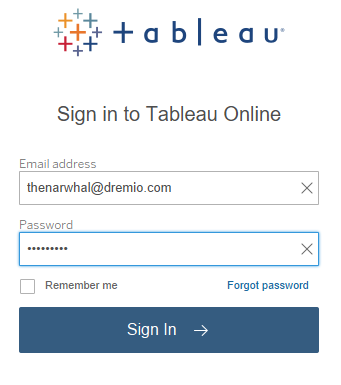
Next, in Tableau from the Server menu verify that you are logged in, if not log into the server using your Tableau Online credentials, then select Publish Workbook

Leave all the parameters as defaulted and click on Publish

Once the workbook has been published correctly, you will get the following notification (click done)

Test your Tableau Online live connection
There are two methods that you can use to verify that Tableau is sending queries to Dremio and not to an extract in the server. The first one is, from Tableau Online, open your workbook and select Edit Workbook

Then make modifications to your workbook and then explore the Jobs entry in the Dremio UI.

Alternatively, from Tableau Online select Data Sources and verify that the data source indicates Live

It is entirely possible that the connection says Extract, meaning that the queries are not being sent to Dremio. To troubleshoot that, simply select the ellipsis on the dataset and click on Edit Connection

Next, provide your credentials and server information and click Save

As demonstrated by the example above, working with your Tableau workbooks on Tableau Online and while ensuring that there is a live connection to Dremio is very simple. I hope you enjoyed this tutorial, visit our tutorials library to read more tutorials like this and learn how Dremio, the data lake engine can help you gain insights from your data, faster.


