14 minute read · December 8, 2022
Multi-Table Transactions on the Lakehouse – Enabled by Dremio Arctic

· Senior Tech Evangelist, Dremio
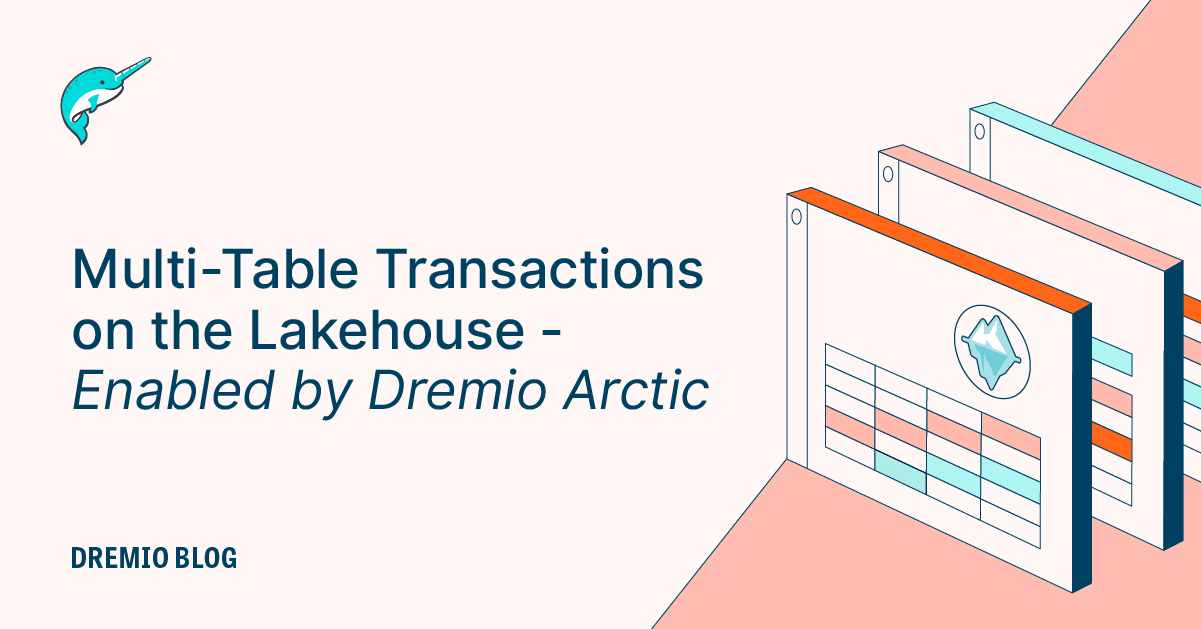
When working with several facts and dimension tables, partial updates can result in queries that don’t reflect the truth of your current data. Ideally, you would have changes to all related tables applied atomically, so consumers either query the old version of the tables or the new version, nothing in between.
Luckily, the data lakehouse comes to the rescue. The combination of Dremio and Apache Iceberg allows you to simplify a lot of modern data challenges so you can focus on producing insights, not fixing pipelines. Today, the focus of this blog post will be on the role of Dremio Arctic in making sure updates across multiple tables are consistent and atomic.
Dremio Arctic is a data catalog for your data lakehouse that can be accessed with any engine. It uniquely enables data teams to use isolation to ensure data quality, recover from mistakes quickly, and audit the data from one place. It is powered by the open-source Project Nessie, which enables Git-like semantics on your Apache Iceberg tables.
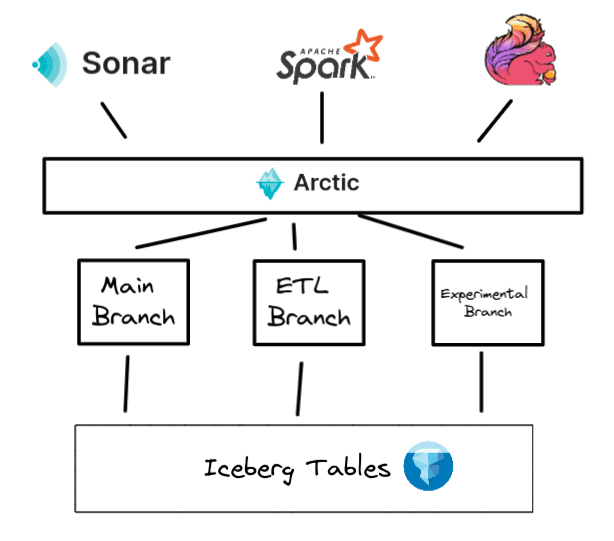
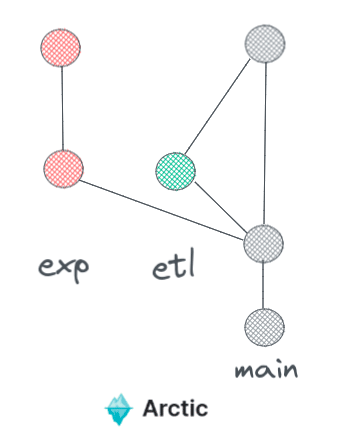
First, let’s discuss the problems when updating multiple tables and how Dremio Arctic can solve them.
The Challenge of Multi-Table Transactions
Problem: You have a fact table that depends on several dimension tables that all need updates. You update them back to back, but in the time between each update, queries come in and may join updated tables with yet-to-be-updated tables.
Solution: With an Arctic catalog you can update all the tables in a branch. When you’re done, you merge the branch, and all the tables’ updates become live on the main branch atomically for querying.
Hands-On Exercise Setup
The first step is to sign up for a free Dremio Cloud account. The process should only take a few minutes. Follow the docs if you have any questions. You can also follow a tour through the sign-up process and UI by watching these videos:
Once your Dremio account (i.e., organization) is set up, you should create a Dremio Sonar project and a Dremio Arctic catalog.
From the screen after sign-up, select a Dremio Sonar project.
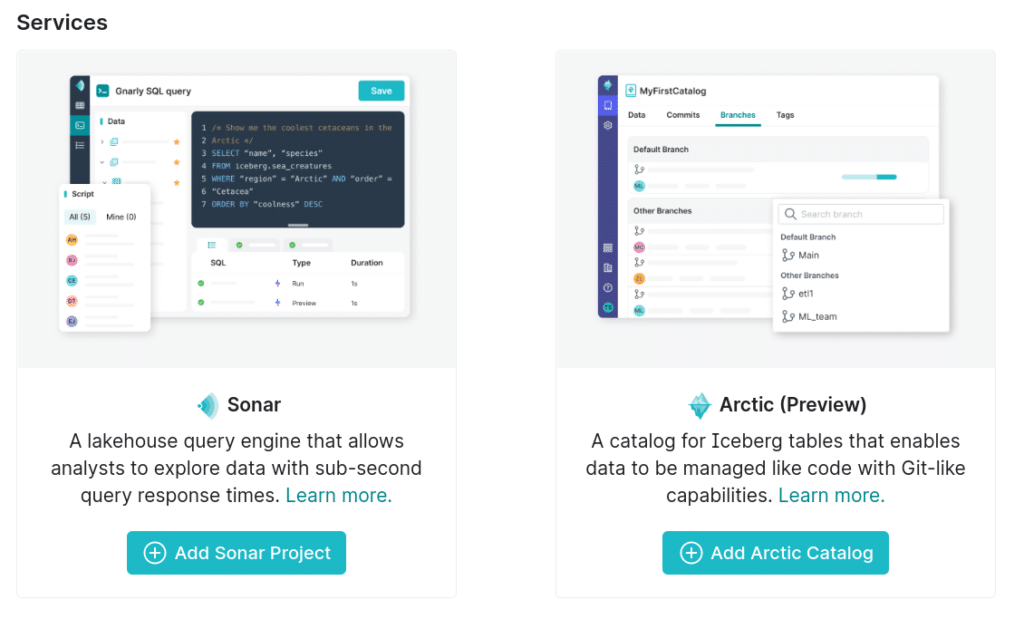
After selecting Add a Sonar project, there are two quick steps:
- Enter a name for the project
- Configure your AWS account to enable Dremio to provision the necessary resources (don’t worry, it’s really easy)
(Note: The new project starts with a minimal 2XS engine, which automatically shuts off after sitting idle for some time. To create new engines or configure existing engine sizes and termination rules head into Engine Settings from Project Settings.)
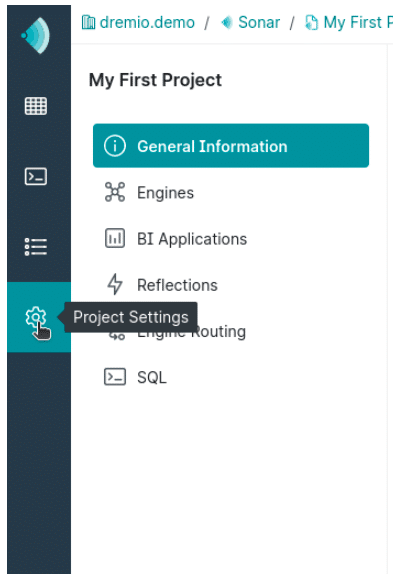
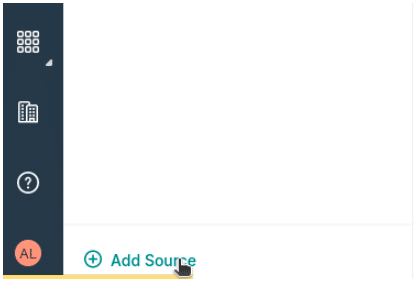
From your Sonar project, to add an Arctic Catalog to work with, click “Add Source” in the bottom left.
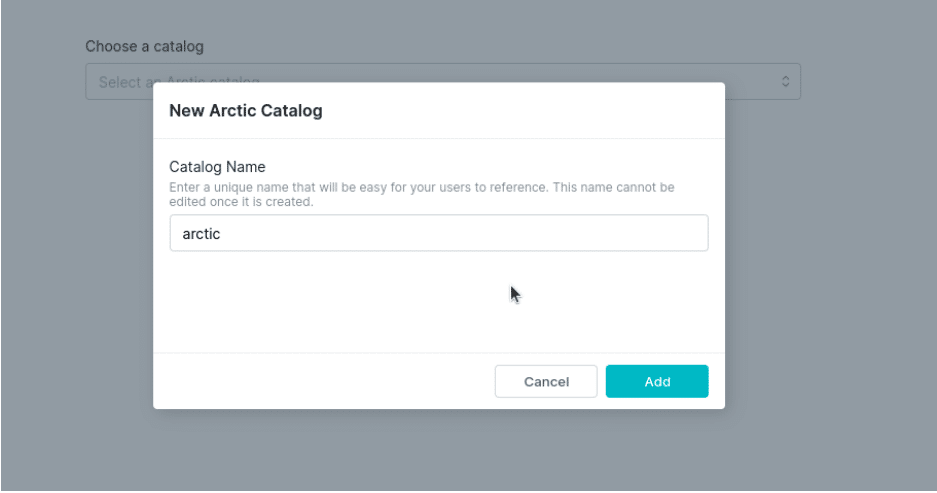
Then select Arctic as your source, which gives you the option to select an existing Arctic catalog or to create a new one. Let’s create a new catalog.
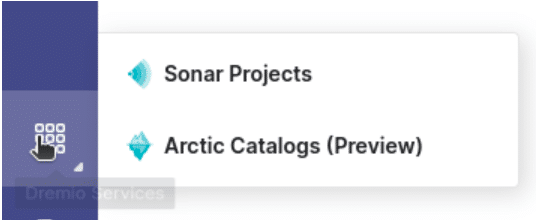
Once the source is added, you can always switch between Sonar projects and Arctic catalogs by clicking on an icon in the menu on the left.
Setting Up Your Example Data
The following datasets were generated for this demonstration using Mockaroo. The datasets represent
- List of agents who work at the company
- List of customers who work at the company
- List of jobs where an agent was assigned to a customer
Please download the following datasets:
List of Jobs (which agent serviced what customer)
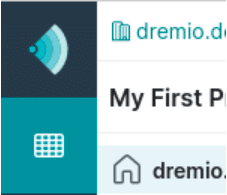
Next, navigate to your home space in the Sonar project. (You’ll see the home icon denoting the home space in your account.)
In the upper-right corner, you’ll see a plus (+) icon that allows you to upload the files you just downloaded.
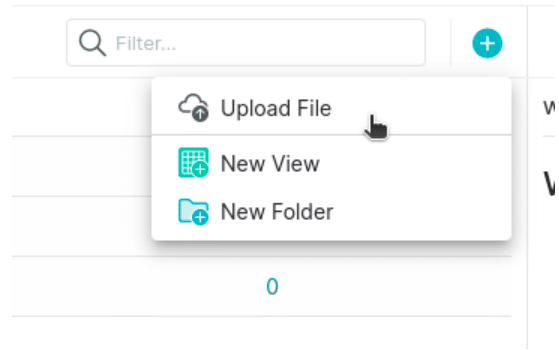
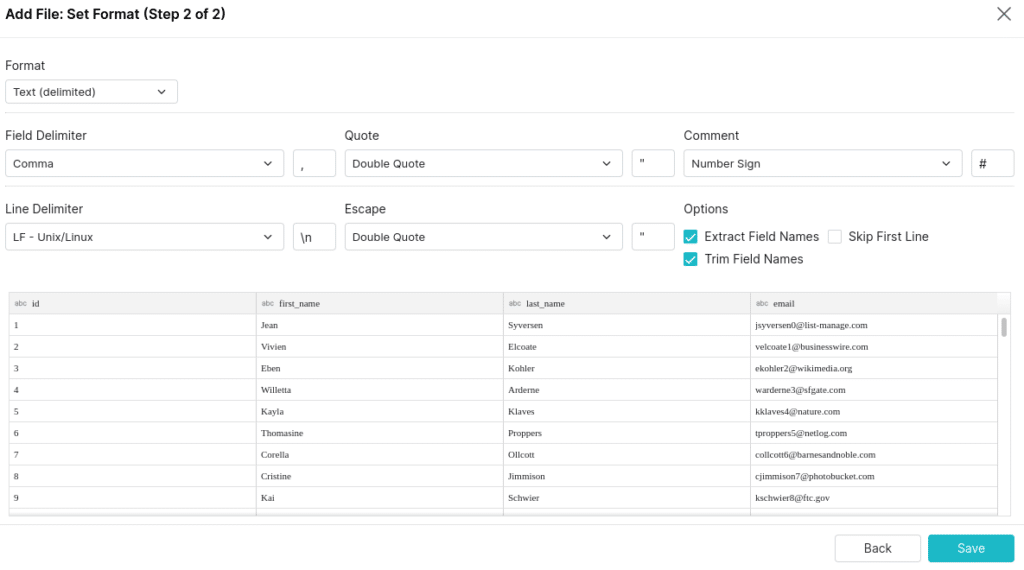
Once you select the CSV to upload make sure to select “Extract Field Names.” Then do the same for the other CSVs.
Once both are added, you’ll see them listed as tables in your home space along with any other tables you may have there.
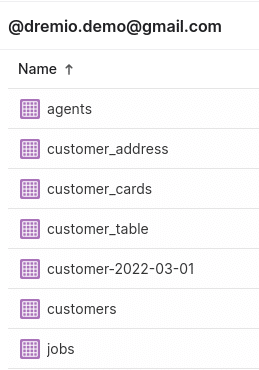
The purple dataset icons represent the actual datasets (in this case, made up by the files), whereas green dataset icons represent logical views.
Now that the CSV files are accessible from your Sonar project, let’s convert them to Iceberg tables in your Arctic catalog. To do so, head to the SQL runner and run a simple CTAS statement. (Repeat this for each CSV file.)
CREATE TABLE arctic.jobsexample.agents
AS SELECT * FROM "@username".agents;
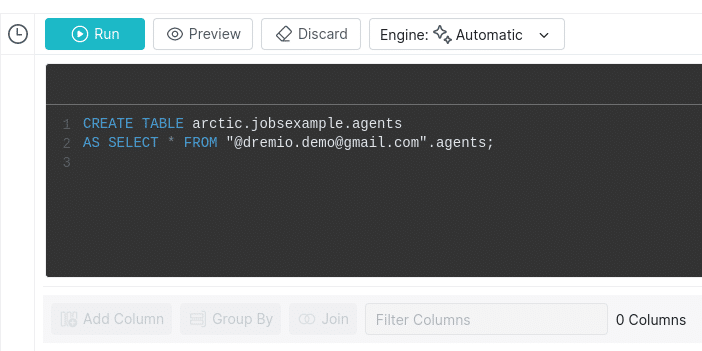
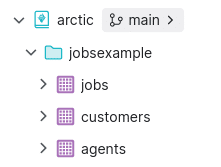
If you inspect your data in Sonar, you should see this dataset under your Arctic catalog.
Joining Data in Dremio Sonar
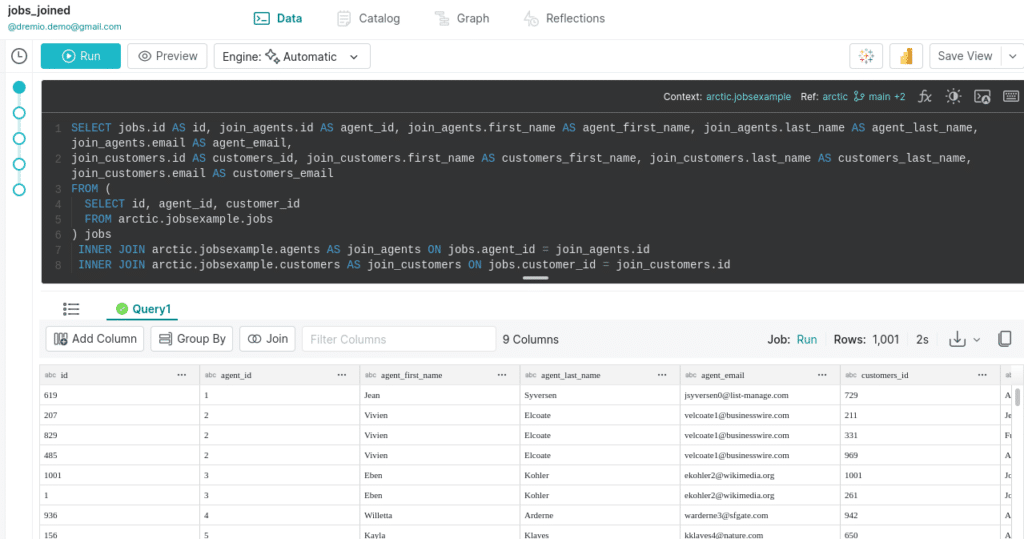
From the SQL runner run a statement joining your tables. You can use the join tool in the transformations bar in Dremio or just write out the SQL. The result will look like this:
SELECT jobs.id AS id, join_agents.id AS agent_id, join_agents.first_name AS agent_first_name, join_agents.last_name AS agent_last_name, join_agents.email AS agent_email,
join_customers.id AS customers_id, join_customers.first_name AS customers_first_name, join_customers.last_name AS customers_last_name, join_customers.email AS customers_email
FROM (
  SELECT id, agent_id, customer_id
  FROM arctic.jobsexample.jobs
) jobs
 INNER JOIN arctic.jobsexample.agents AS join_agents ON jobs.agent_id = join_agents.id
 INNER JOIN arctic.jobsexample.customers AS join_customers ON jobs.customer_id = join_customers.id

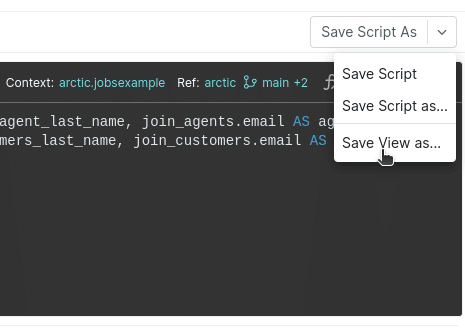
Run the query; if everything looks good then save this as a view, so you don’t have to worry about writing out this query again. In the upper-right corner select “Save View as.”
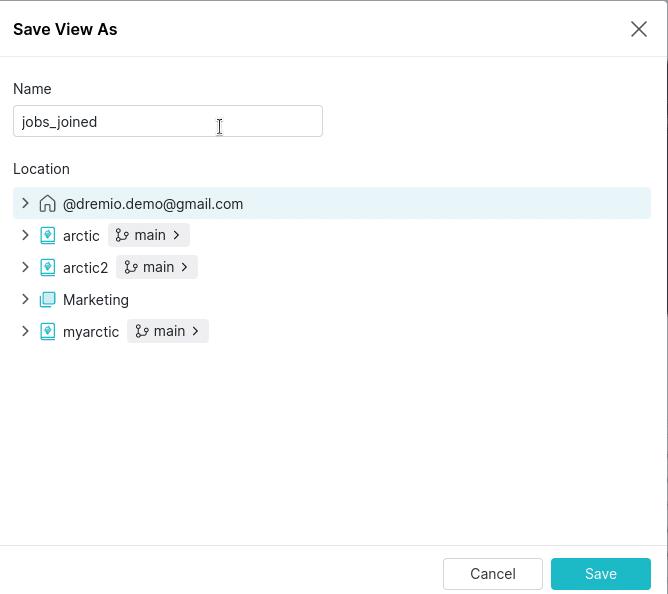
Save the view in your home space named “jobs_joined.”
Updating Multiple Tables
Agent id# 3 (Eben Kohler) has onboarded a new client so you need to update the customers table and the jobs table. The problem is, if you update one of these tables a query may come in on the joined data before you make the updates to the second table. To avoid this problem, Arctic comes to the rescue by allowing you to make a branch to isolate your updates and then atomically update multiple tables when you merge the branch.
So in the following set of queries, you will:
- Create a new branch
- Switch to that branch
- Make your updates
- Query the count on the jobs table on both branches to confirm the isolation
- Merge the branch
- Query the count on jobs and customers to confirm updates were merged
CREATE BRANCH jobs_table_update IN arctic;
USE BRANCH jobs_table_update IN arctic;
INSERT INTO arctic.jobsexample.customers (id, first_name, last_name, email) VALUES (1001, 'John', 'Doe', '[email protected]');
INSERT INTO arctic.jobsexample.jobs (id, agent_id, customer_id) VALUES (1001, 3, 1001);
SELECT COUNT(*) FROM arctic.jobsexample.jobs;
USE BRANCH main IN arctic;
SELECT COUNT(*) FROM arctic.jobsexample.jobs;
MERGE BRANCH jobs_table_update INTO main IN arctic;
SELECT COUNT(*) FROM arctic.jobsexample.jobs;

So as the code above shows, you’ve updated both tables but at no point would it have been possible for any of your consumers to query the main branch and receive partially updated data. By isolating them on a branch using Arctic’s Git-like semantics, you can commit all the updates to the tables for consumption simultaneously. Now if you go back to check on the view you created earlier it should reflect the updates you’ve made. (The record with the id of 1001 is visible and joined properly.)
Conclusion
By following this exercise, you have experienced firsthand how Dremio Arctic can make multi-table transactions possible and easy so you never have to stress about queries on partially updated data in your data lakehouse. Everything you just did can be done from other engines like Spark and Flink, allowing multiple users to work on multiple tables with multiple engines and then commit all those transactions in one atomic operation with a simple merge of a branch. Create your Dremio Arctic catalog today!
Get a Free Early Release Copy of "Apache Iceberg: The Definitive Guide".
